Using the plugin
This page explains how to launch PyMoDAQ, build a preset for the Arduino plugin, drive the fan and the heater, and acquire the temperature from the PT100 probe.
1. Launch the PyMoDAQ Dashboard
Note
Make sure the Arduino Nano ESP32 is powered on and connected to the WiFi before launching PyMoDAQ.
Activate your environment, then launch the Dashboard:
conda activate pymodaq_env
dashboard
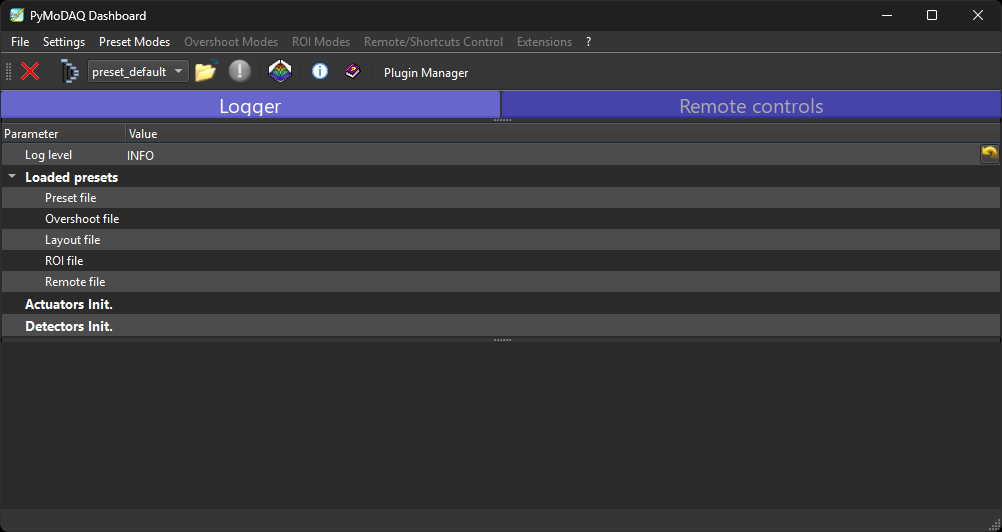
2. Create or load a preset
On start-up, the Dashboard asks you to create or load a preset — a configuration file listing the modules used for your device.
Creating a preset for the Arduino bench.
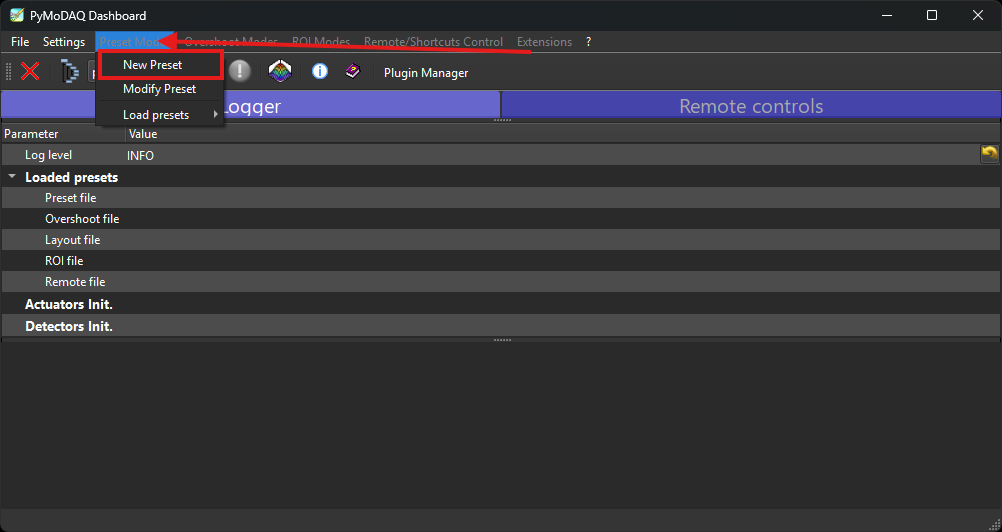
To create a new preset:
Click Preset Mode, then New preset, and give it a name (e.g.
arduino_tp).Add a
DAQ_Movemodule and select the FanHeater plugin. Enter the IP address of the Arduino controller. This first module becomes the Master (check its Controller ID).Add a
DAQ_Viewermodule and select the plugin matching your sensor:MAX31865 — for a PT100 probe (resistive, high precision);
ADS1115 — for an analog temperature sensor through a 16-bit ADC.
Enter the same IP address and the same Controller ID as the
DAQ_Move; this module is then a Slave.Save the preset.
Important
Only one module can be the Master. All other modules sharing the same controller must be Slave, and all of them must use the same IP address and the same Controller ID.
To reuse an existing preset, click Load preset and select the .xml file.
3. Drive the fan and the heater
Once the preset is loaded, the DAQ_Move FanHeater module exposes two axes:
Heater axis (Master) — drives the heater from 0 % to 100 %; this axis initialises the connection with the ESP32;
Fan axis (Slave) — drives the fan from 0 % to 100 %, sharing the connection opened by the Master.
Enter the set-point in percent in the matching axis field (e.g. 75) and press Enter
or click Move. The plugin automatically converts the value to a PWM signal (0–255) and
sends it to the ESP32 through Telemetrix.
The Dashboard with the FanHeater actuator and the temperature viewer.
4. Acquire the temperature
Start a grab on the DAQ_Viewer module: it reads the PT100 (through the MAX31865) or the
analog sensor (through the ADS1115) and displays the temperature in real time, ready to be
logged or plotted against the fan / heater set-points.